
Windows has a built-in file history backup feature that is very convenient to use. If you have a home server with some storage to spare, it is definitely an option to host backups on. Windows is able to use Samba network shares for storage, so we'll start by setting up a share on the Linux server.
UPDATE 21-Sep-2018 Recent versions of Windows 10 play nicely with recent version of Samba, without having to enable SMBv1 on Windows. Skip that step and just connect to the share!
Set Up the Samba Share on Linux
First, create a directory to hold the backups. Grant your user ownership to it.
sudo mkdir -p /srv/storage/backups/windows/Kamals-PC
sudo chown kamal:kamal /srv/storage/backups/windows/Kamals-PC
Update the apt cache and install Samba.
sudo apt-get update
sudo apt-get install samba
Now let's configure the Samba daemon. Open /etc/samba/smb.conf and edit some of the existing lines as follows (see annotations):
# Make sure workgroup matches your Windows workgroup
workgroup = WORKGROUP

# Set this to whatever you want
server string = Samba on %h

# Prevent samba from messing with our unix system passwords
unix password sync = no

# Comment out the following lines

# [printers]
#    comment = All Printers
#    browseable = no
#    path = /var/spool/samba
#    printable = yes
#    guest ok = no
#    read only = yes
#    create mask = 0700
#
# # Windows clients look for this share name as a source of downloadable
# # printer drivers
# [print$]
#    comment = Printer Drivers
#    path = /var/lib/samba/printers
#    browseable = yes
#    read only = yes
#    guest ok = no
Then, add the following to the end of the file. This will configure the actual share. Replace the path and username with your own.
[Kamals-PC Backups]
path = /srv/storage/backups/windows/Kamals-PC
available = yes
valid users = kamal
browsable = yes
public = no
writable = yes
read only = no
For authentication, Samba uses its own password file, so you will need to configure a password for your user. Keep in mind that said user must also be an existing unix user.
sudo smbpasswd -a kamal
Finally, restart Samba so that the changes can take effect.
sudo systemctl restart smbd.service
sudo systemctl restart samba-ad-dc.service
We are now all done on the Linux end. Let's switch over to Windows.
Configure the Share on Windows
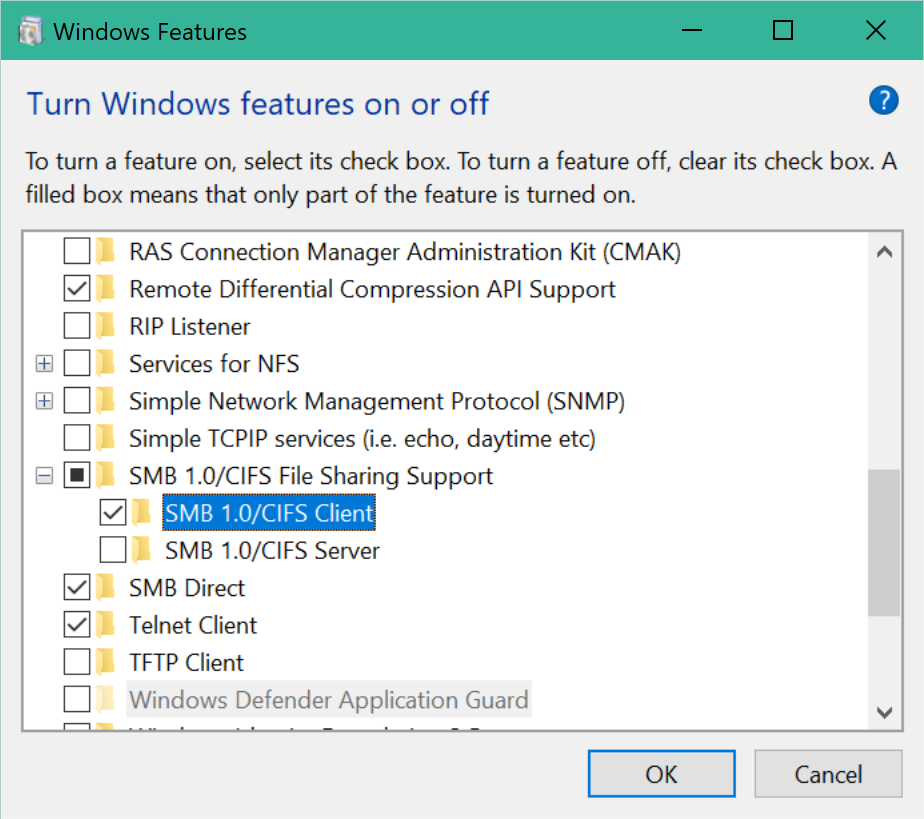
As of the Windows 10 Creator's Update, the Samba client required is disabled by default. To enable it, search for Turn Windows features on or off and check the Samba client:
Then, you will need to allow Windows to discover the share on the local network. While connected to your home network, open Settings and go into Network & Internet.
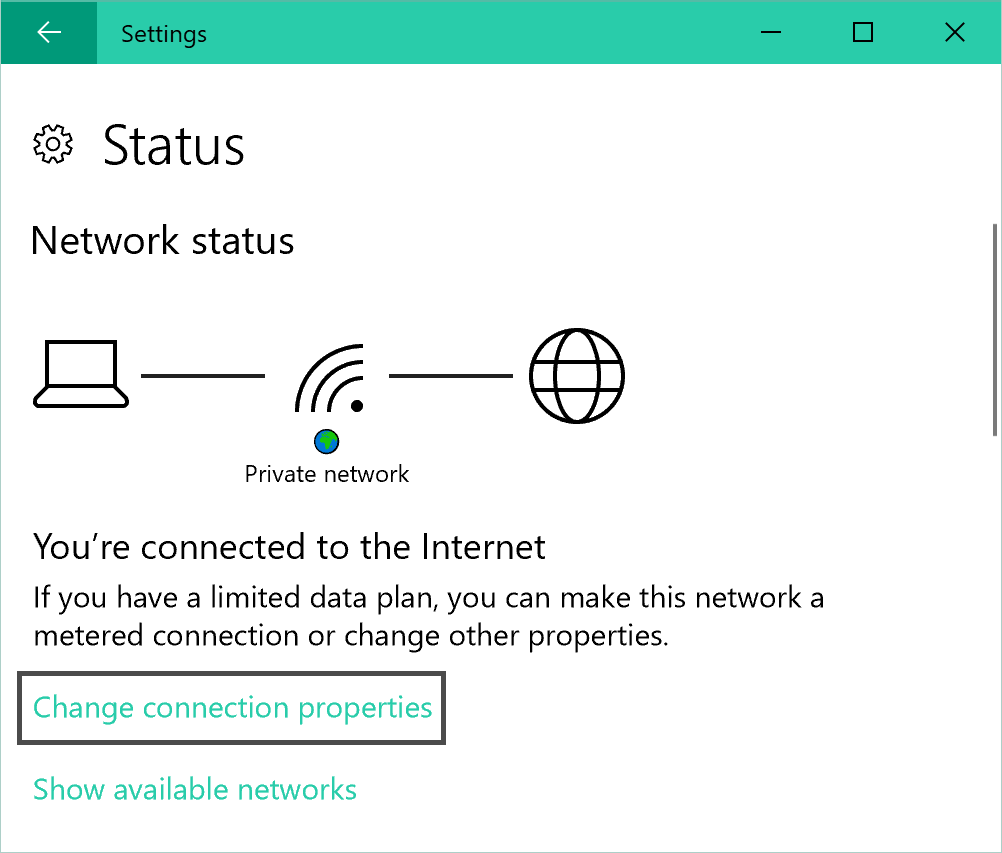
Click on Change connection properties and set your network to Private.

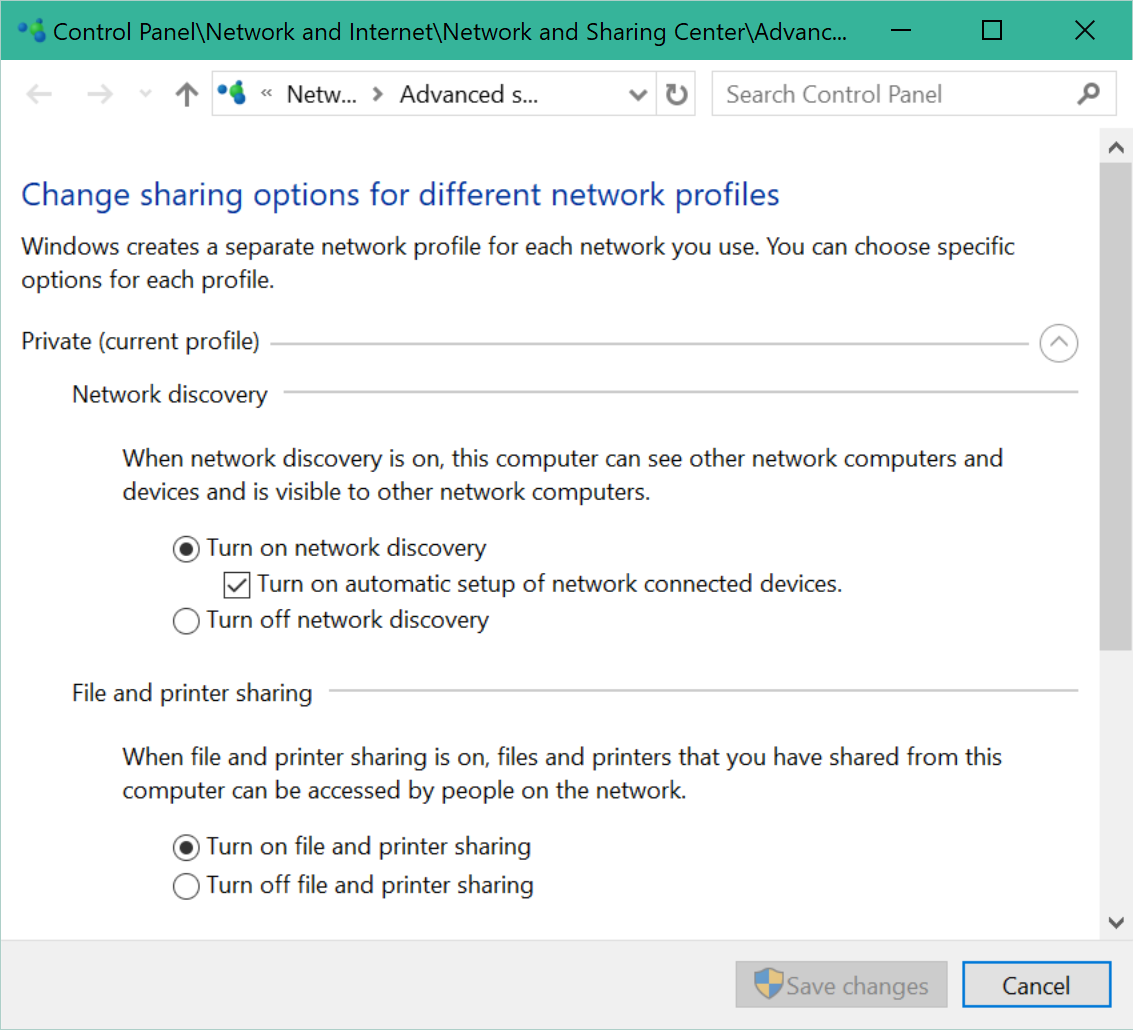
Go back to the Network & Internet page, scroll down to Sharing options and click on it. Make sure network discovery is turned on.
Now, verify that Windows can access the share. Open File Explorer and browse to the Network page in the sidebar. You should see your server there at the top. It might take a couple of seconds to show up.
Double click on it. If you are able to access it using your username and password configured previously, you can skip the next step. Otherwise, you will need to manually configure the login credentials. (source)
Open the Credential Manager program and select Windows Credentials. Click on Add a Windows credentials to add your login info for the Samba share.
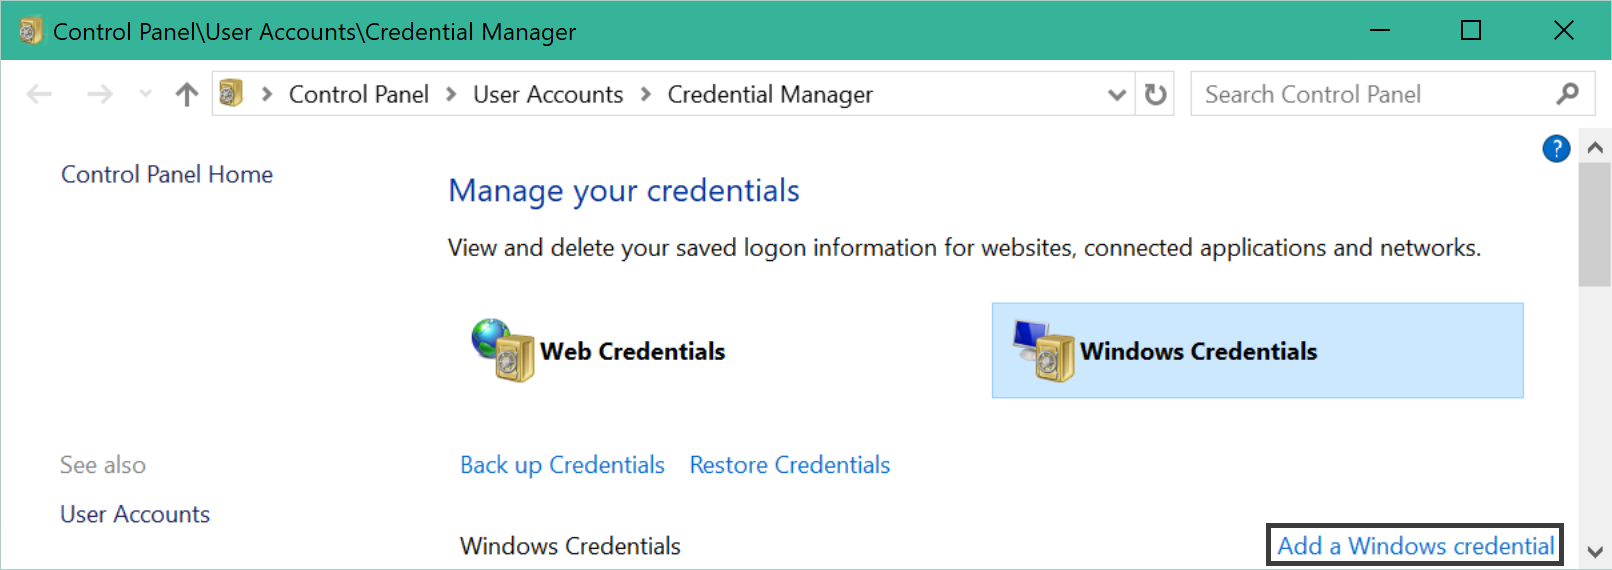
Enter your server's hostname in all caps and fill in your login details. Click OK and close Credential Manager.

After performing these steps, go back to the Network page and try to browse to your share. You should now be able to browse into it. Create or copy a file to make sure that it works properly.
Now, let's configure Windows to use the share for backups. Open Backup Settings and click on Add a drive. The list should be empty, so click on Show All Network Locations. Your share should now appear. Click on it, and you are all set.
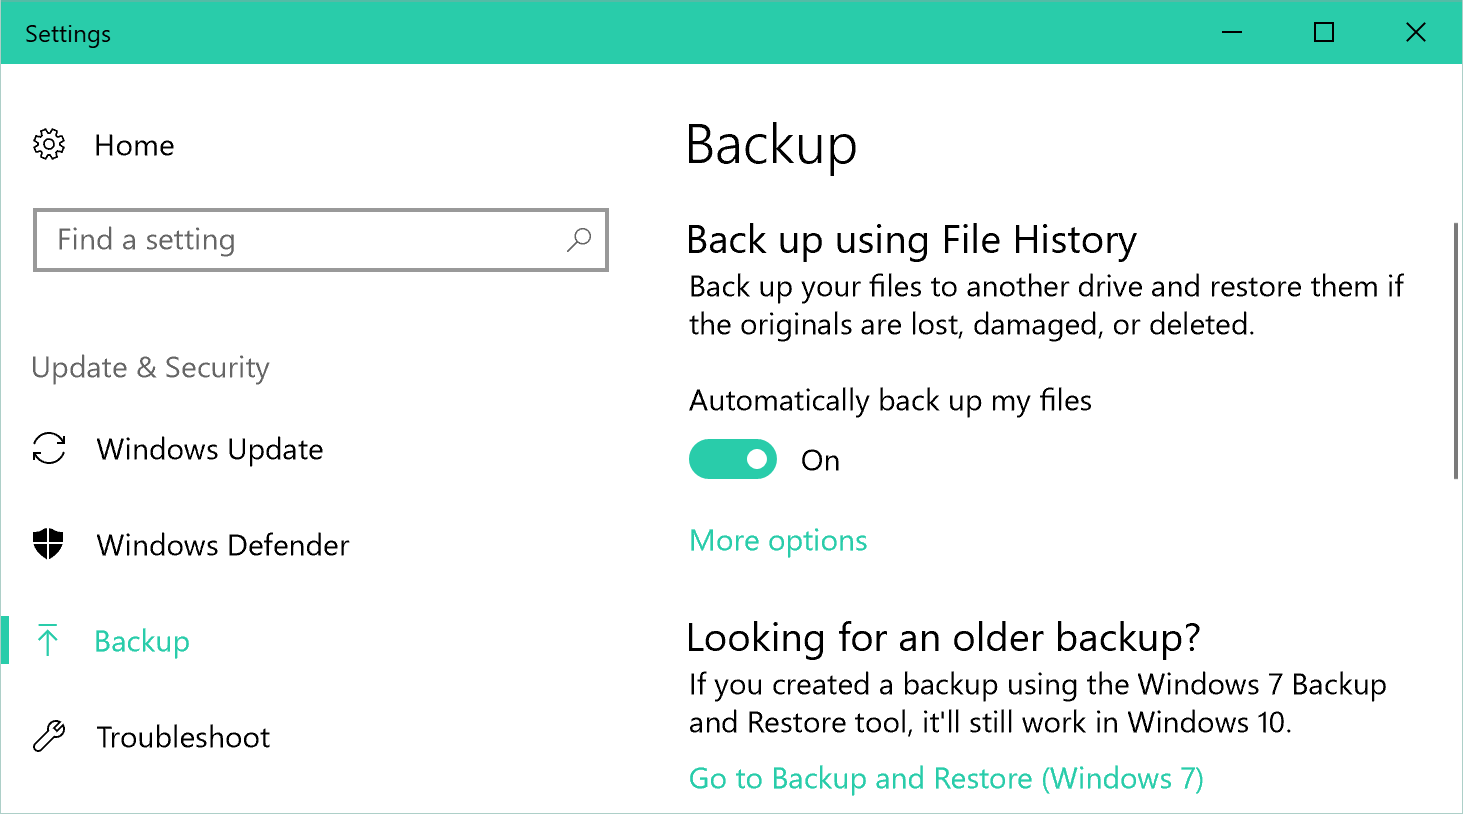
In the More options page, you will be able to adjust backup frequency, deletion policy, and other settings. You might want to exclude any cloud storage such as Dropbox, OneDrive, iCloud Drive, etc. since these are already reliable in terms of data redundancy.